
In this tutorial, I will show you how to get started with Laravel. Either you are a Linux, Windows, or Mac users you can easily install Laravel in your system.
So before jumping to how to install Laravel but first understand and know about Laravel.
Table of Contents
What is Laravel?
Laravel is a free, open-source PHP web application framework developed by Taylor Otwell. The first beta was released in mid-2009.
Laravel framework is much more advanced than the CodeIgniter framework. Laravel is designed in such a way that helps developers to work in a standardized manner and rapid web apps development.
What are the main features of Laravel? Features of Laravel
Template Engine
Authentication
MVC Architecture Support
Eloquent ORM (Object Relational Mapping):
Secure Migration System
Unique Unit-testing
Libraries and Modular
Security
Artisan
Installing Laravel
You can install Laravel in the following different ways:
In this tutorial, we are going to see Laravel installation via Composer to create projects.
We will be using composer to set up Laravel.
So, make sure you have installed Composer in your system. If you have not already installed it, you can install it now.
It is very easier to install composer on Windows. You just need to go to the composer’s official site and download the Composer setup executable file and run it.
https://getcomposer.org/download/
Now follow the installation steps and you will successfully install the latest composer version in your system.
Steps to Install Laravel
1. Open the command prompt.
2. Go to the path in your system where you want to install Laravel.
3. Run the command from the command window
composer create-project –prefer-dist laravel/laravel <project-name>
We are keeping the project name: laravel-demoapp.
So, in this case, I will run the given below command to create a project.
composer create-project –prefer-dist laravel/laravel laravel-demoapp

4. Database Connection
Once the installation process will be completed successfully,
open .env file from your root directory and set up database configurations in this file.
5. Run the new setup
Here we assume that you have installed a local server on your system.
Now run the below command:
cd laravel-demoapp
php artisan serve
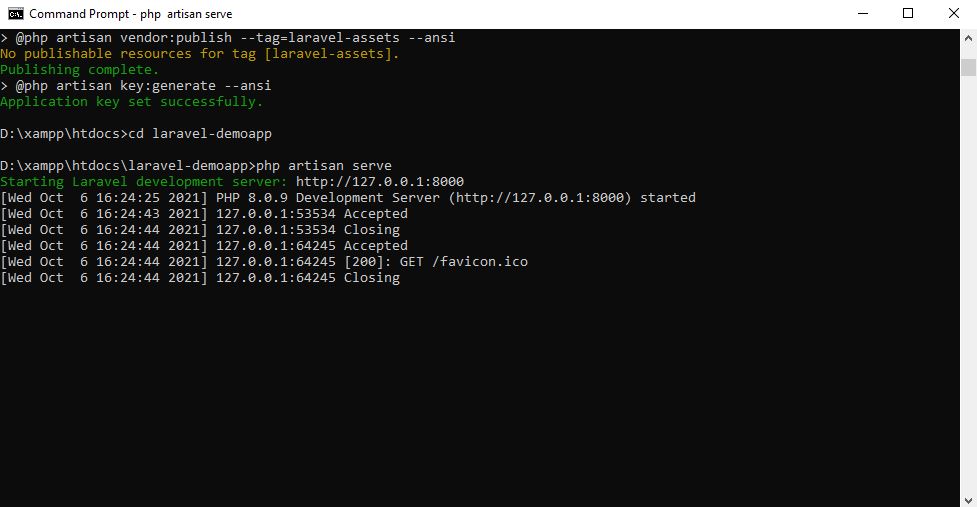
Once you run the command in the command prompt, it will show the message like the Laravel development server started, as shown in the above screenshot.
6. Access your Application
Just copy the Laravel application URL and access it in the browser.
http://127.0.0.1:8000
Now, the default page of Laravel will be loaded in the browser.
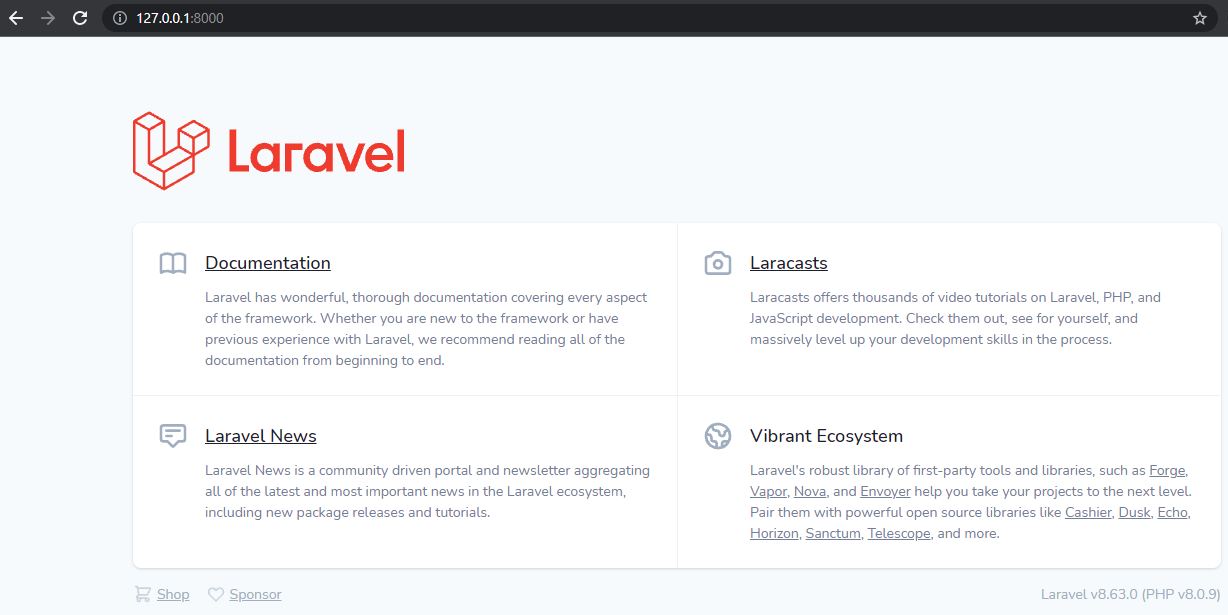
Congrats, You have successfully installed Laravel in your system.