Social media is one of main source to grow your blog readers these days. Social media website are having millions of users and It helps you to connect more audience worldwide.
Adding a social media button to blog helps reader to get latest update from social channel.
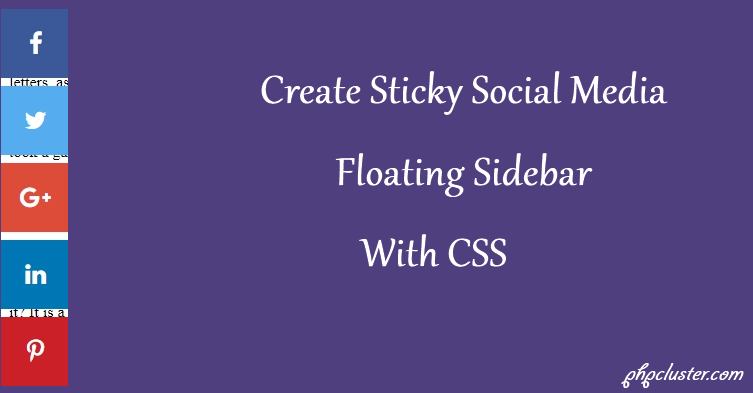
In this tutorial we will see how to create floating social media icons using css.
We will create a Sticky Social media floating sidebar in left hand side of web page using html and css.
Sticky social share bar helps to increases more traffic by sharing blog post on social network. It also helps readers to recommend useful article to others.
In this example we will Create Sticky Social media floating sidebar with simple html and css code which is always fixed while user scroll web page to read its content.
This will add social share buttons to share your blog post by your blog readers.
Read:
Add Social Share button in WordPress without Plugins
Lets us write snippet.
HTML
First we write html code to create social share button.
 <div id="share">

            <!-- facebook share button -->
            <a class="facebook" href="https://www.facebook.com/share.php?u=http://www.phpcluster.com/add-wysiwyg-html-editor-textarea-site/&title=Add WYSIWYG HTML Editor to Textarea on Your Site" target="blank"><i class="fa fa-facebook"></i></a>

            <!-- twitter share button-->
            <a class="twitter" href="https://twitter.com/intent/tweet?status=Add WYSIWYG HTML Editor to Textarea on Your Site+http://www.phpcluster.com/add-wysiwyg-html-editor-textarea-site/" target="blank"><i class="fa fa-twitter"></i></a>

            <!-- google plus share button -->
            <a class="googleplus" href="https://plus.google.com/share?url=http://www.phpcluster.com/add-wysiwyg-html-editor-textarea-site/" target="blank"><i class="fa fa-google-plus"></i></a>

            <!-- linkedin share button -->
            <a class="linkedin" href="https://www.linkedin.com/shareArticle?mini=true&url=http://www.phpcluster.com/add-wysiwyg-html-editor-textarea-site/&title=Add WYSIWYG HTML Editor to Textarea on Your Site&source={{source}}" target="blank"><i class="fa fa-linkedin"></i></a>

            <!-- pinterest share button -->
            <a class="pinterest" href="https://pinterest.com/pin/create/bookmarklet/?media=http://www.phpcluster.com/images/html-text-editor-to-textarea.jpg&url={{http://www.phpcluster.com/add-wysiwyg-html-editor-textarea-site/}}&is_video=false&description=Add WYSIWYG HTML Editor to Textarea on Your Site" target="blank"><i class="fa fa-pinterest-p"></i></a>
</div>
CSS
First include font awesome
<link href="https://maxcdn.bootstrapcdn.com/font-awesome/4.7.0/css/font-awesome.min.css" rel="stylesheet">
Now social share bar is created now we write some css to fix its position and give some style effect.
#share {
    top: 25%;
    left: 0;
    position: fixed;
    z-index: 9999;
}
#share a {
    width: 35px;
    height: 35px;
    display: block;
    padding: 17px;
    margin-top: 8px;
    font-size: 24px;
    color: #fff;
    opacity: 1;
    transition: opacity 0.15s linear;
}

#share a:hover {
    opacity: 2;
}

#share i {
    position: relative;
    left: 50%;
    top: 50%;
    transform: translateX(-50%) translatey(-50%);
    -webkit-transform: translateX(-50%) translatey(-50%);
    -moz-transform: translateX(-50%) translatey(-50%);


}

.facebook {
    background: #3b5998;
}

.twitter {
    background: #55acee;
}

.googleplus {
    background: #dd4b39;
}

.linkedin {
    background: #0077b5;
}

.pinterest {
    background: #cb2027;
}